Getting started
This guide follows the complete path from a design idea to an operational plasmid.
1. Prepare your catalog context
Before starting a design, add or review the species and strains involved.
A project can identify:
- a target species: the organism the construct is intended to affect, transform, edit, or express within;
- a transformation strain: the strain used to carry, propagate, or deliver the construct;
- a preferred transformation method.
These relationships represent design intent. They do not prove that transformation occurred.
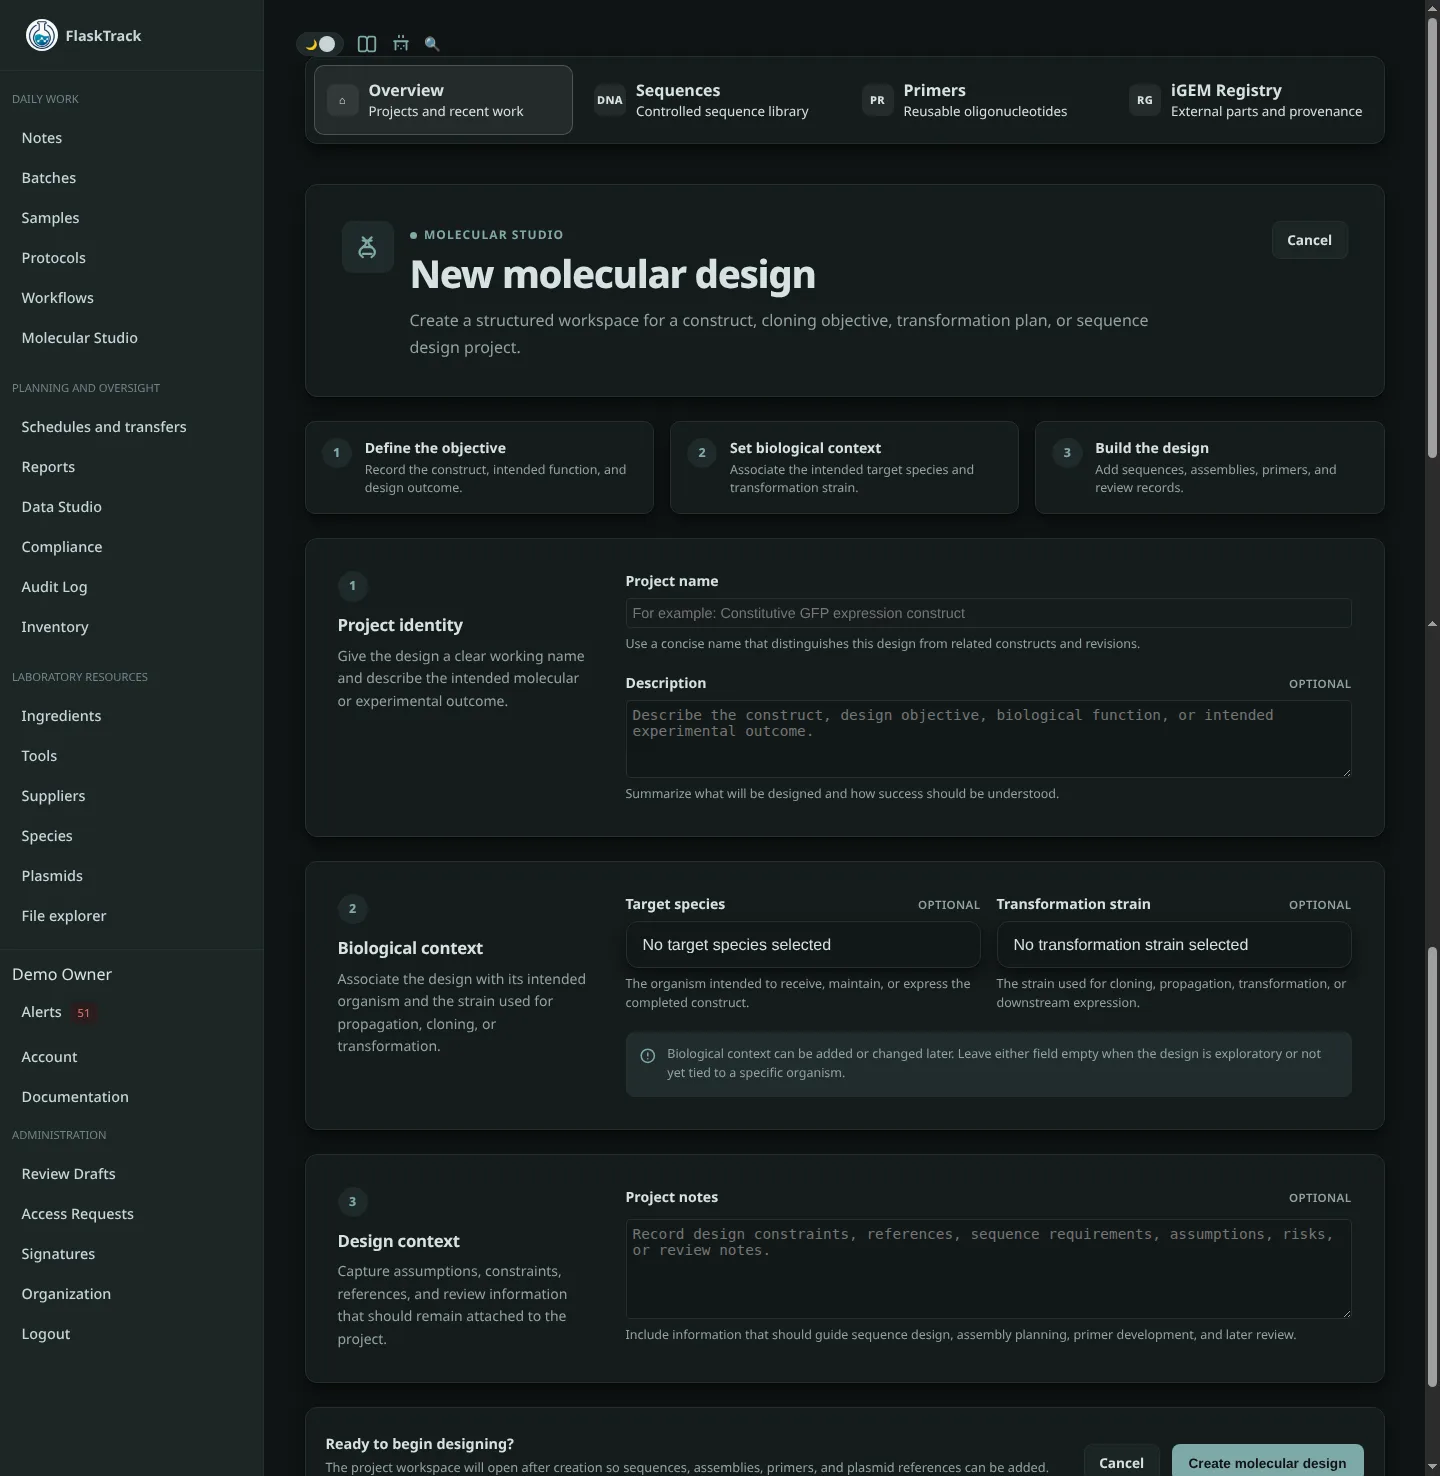
2. Create a design project
Open Molecular Studio and choose New Design Project.
Give the project a clear name and description. Select the target species and transformation strain when applicable.
A project is the workspace that groups the design objective, sequences, assemblies, primers, analyses, and final output.
3. Add sequence material
You can begin in several ways:
- create a sequence manually;
- import FASTA, GenBank, or plain nucleotide data;
- copy an existing sequence;
- attach an existing project sequence;
- scaffold draft material with an AI provider.
Use authoritative imported or existing sequences whenever exact biological identity matters.
4. Review and annotate sequences
Open each sequence and review:
- sequence content;
- sequence type;
- topology;
- length;
- source;
- version history;
- features and annotations.
Add features to mark biologically meaningful regions.
5. Prepare primers and PCR checks
Use the primer library to create or reuse primers.
You can scan binding sites and run in-silico PCR against a specific sequence version before moving to wet-lab execution.
6. Create an assembly
Create an assembly when multiple fragments need to be combined.
Add the intended fragments in order, define orientations and overhangs, then simulate the assembly.
Simulation creates a computational candidate. It does not establish experimental success.
7. Review the project output
Before release, confirm:
- the intended sequence is correct;
- annotations are meaningful;
- assembly order and orientation are correct;
- primers bind as expected;
- sequence history and provenance are complete;
- the project output is the intended plasmid.
8. Approve and release
Publishing a sequence version is a controlled action.
The release records the exact version, sequence hash, sequence length, topology, approving user, release time, and electronic-signature context.
The released version becomes the operational sequence associated with the catalog plasmid.
9. Record the plasmid–strain relationship
When appropriate, associate the released plasmid with the relevant strain.
FlaskTrack distinguishes:
- design intent — a project planned to use the strain;
- operational relationship — a plasmid is recorded as associated with the strain;
- verified relationship — the association has supporting review or experimental evidence.
10. Use the plasmid in a protocol
Once released into the catalog, the plasmid can be selected as a protocol resource.
This keeps protocol execution tied to operational catalog material rather than draft engineering work.